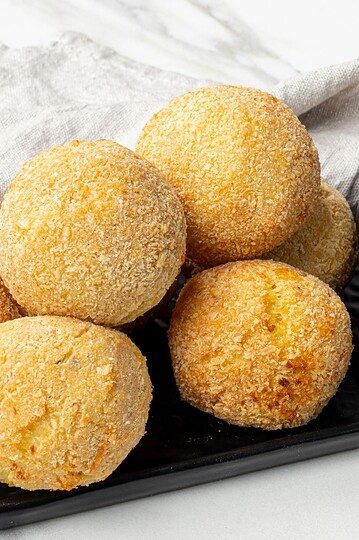
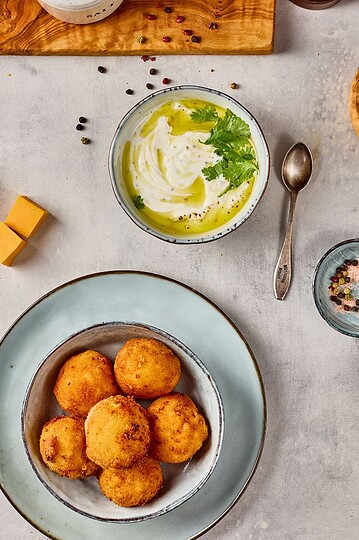
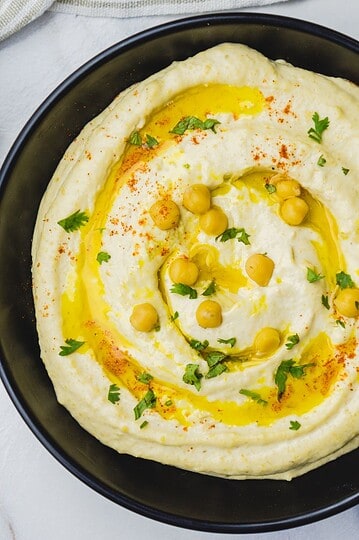
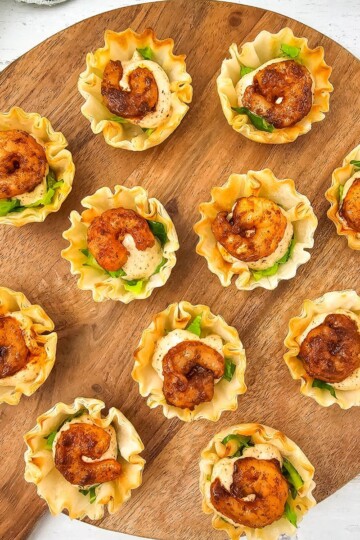
Hot Appetizers
See more Hot Appetizers →
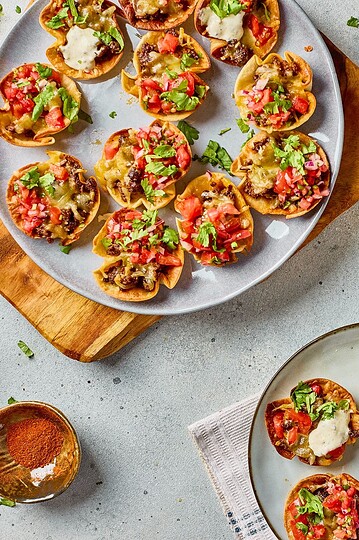
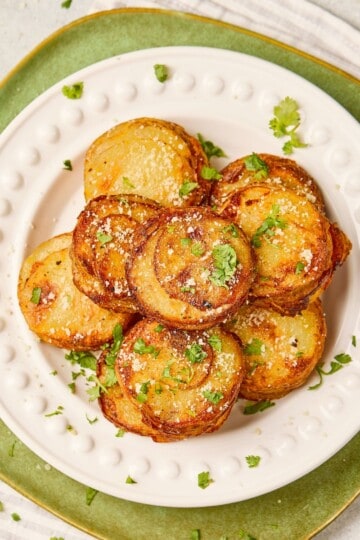
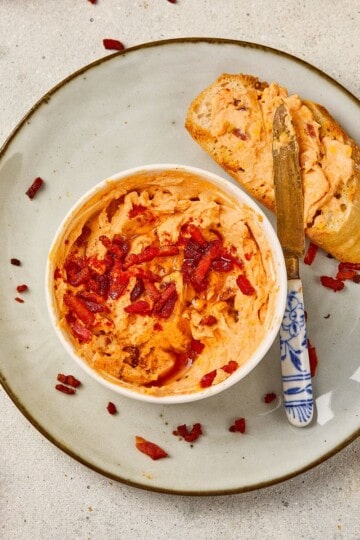
Cold Appetizers

See more Cold Appetizers →
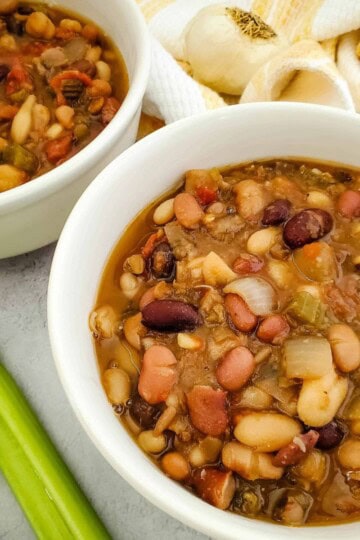
Healthy Options
- Crockpot Vegan Bean Soup
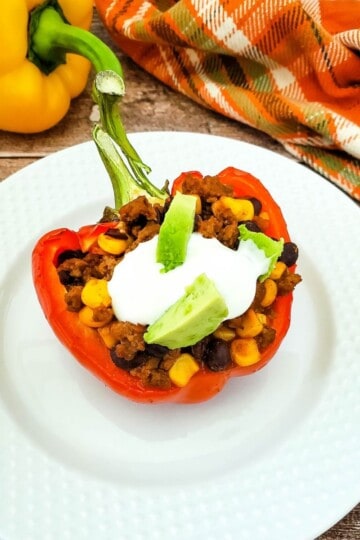
- Taco Stuffed Peppers
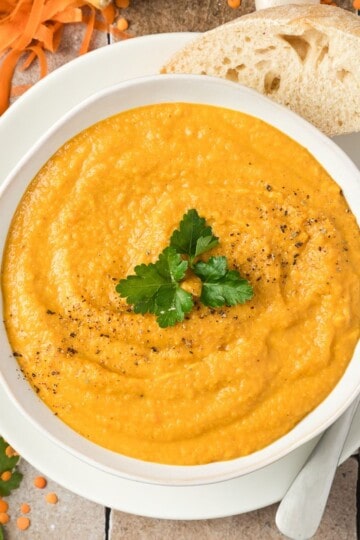
- Cozy Carrot and Lentil Soup with a Sweet Apple Twist
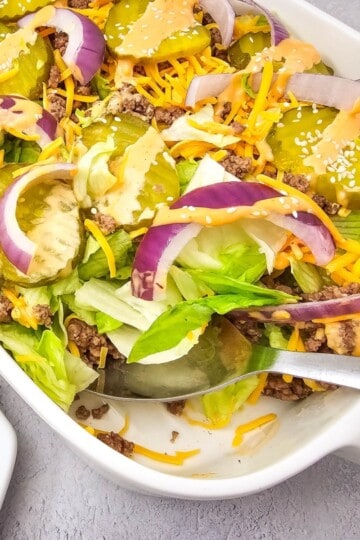
- Easy Big Mac Salad with a Healthy Low Carb Twist
See more Healthy Options →

About Tina
"Hi, I'm Tina! On Three Kids, Three Cats, and a Husband, I share bite-sized party food ideas, easy appetizers, family-friendly meals, some sourdough bakes, Disney vacation planning tips, and fun crafts and activities for kids-because bringing people together is what I love most. Stick around for simple, delicious, and magical ideas to make life easier and more fun for busy families like mine!"
Mini Desserts
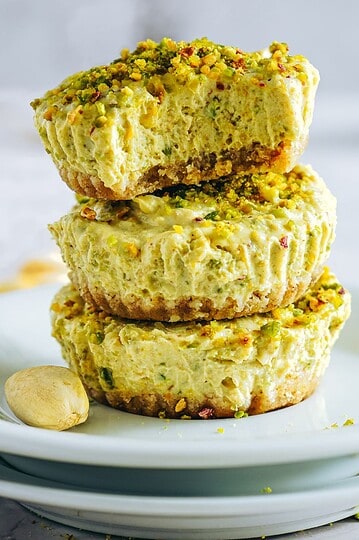
- Mini Pistachio Greek Yogurt Cheesecakes
- Apple Cinnamon Crumb Muffins
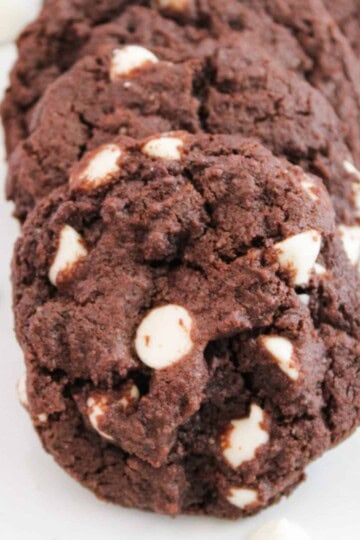
- White Chocolate Chip Cookies
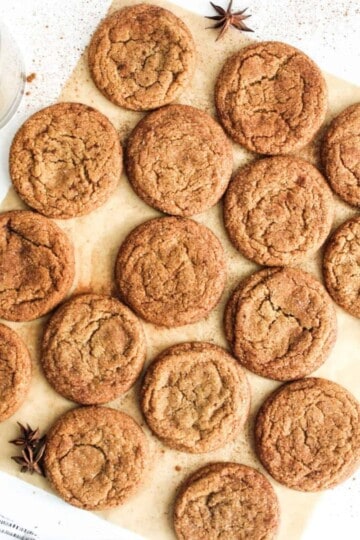
- Old Fashioned Gingersnap Cookies

See more Mini Desserts →

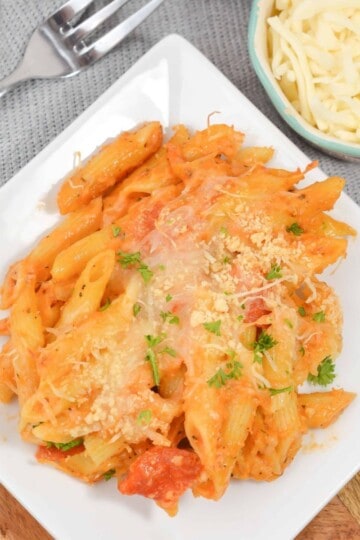
Family-Friendly Meals

See more Family-Friendly Meals →