
Imagine your toddler or preschooler painting with multiple colors, swirling and smearing the colors together, digging right into it with their hands and fingers ...
... without making any mess.
Sounds too good to be true, right?
Well, not if you make a paint sensory bag (sometimes also called a "paint squish bag").
What is a Sensory Paint Bag?
Paint squish bags are cheap and easy to make and provide a great sensory activity for kids.
The beauty is that the paints are sealed in a bags, so they can be squished and swirled with making a mess.
One of my children never liked getting sticky or dirty things on their fingers, even as toddler. Paint sensory bags are perfect for kids like that -- or for kids with eczema and sensitive skin.
They're also great for little ones who are constantly putting things into their mouth. (I apparently was one of those.)
Another nice thing about these bags is that they're very portable. They're great for keeping kids occupied in a doctor's waiting room.
Since I've been an "unicorn kick" lately, I used unicorn colors of pink & turquoise to make these bags.
Important Note!
Creating this squish bag involves using beads.
So if you're making this for a child younger than 3, either:
- Create the bags yourself and only give it to your child once it's sealed; or
- If you really want to make the bag with your child, consider having them apply the paint, and then you take over and do the rest
Sensory Paint Bag Supplies:
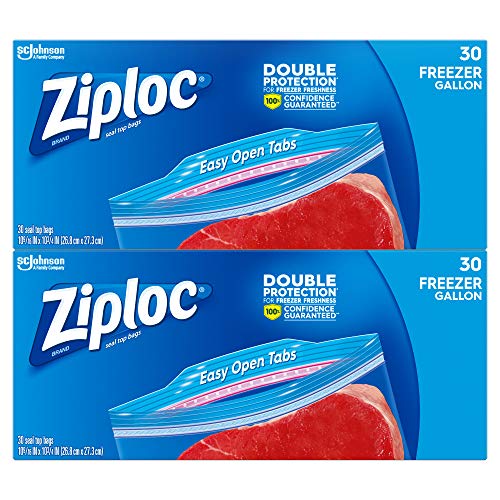
- Gallon size zipper bag
- Piece of white paper (cut to size if necessary)
- Pink paint
- Turquoise paint
- Small beads
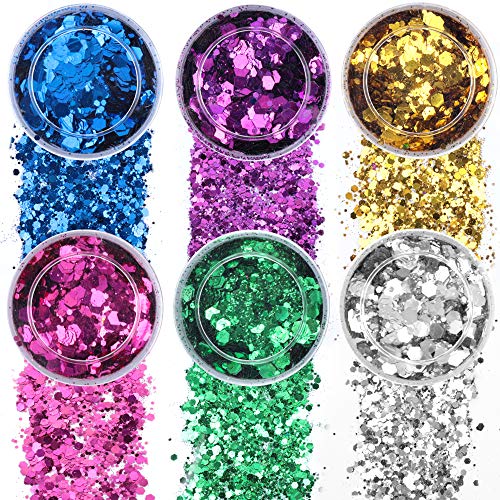
- Chunky glitter

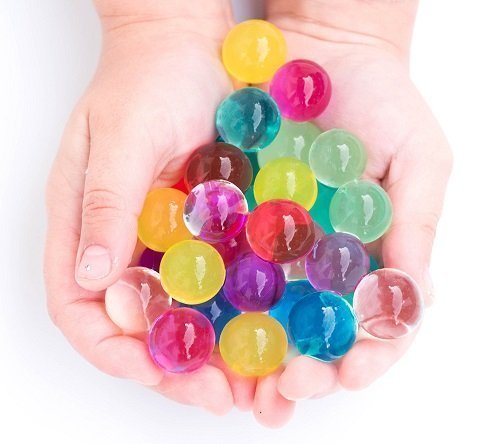
Gallon-sized Ziploc Bags White Construction PaperPink PaintTurquoise PaintNon-Toxic Rainbow Water BeadsChunky Glitter

How do you make sensory squish bags?
- If necessary, trim the sheet of paper so that it can fit inside the bag.
- Pour dots of paint onto the paper.
- Place a few beads onto each paint dot.
- Sprinkle glitter onto each paint dot.
- Carefully place the paper into the gallon sized zipper bag. Be careful not to touch the paint against the bag when placing the paper inside the bag.
- Zip the bag and make sure the bag is completely closed. I would also recommend putting some duct tape on the edge so it's extra secure.
- Now it's ready for kids to have fun with it! They can use their hands and fingers to move the paint around, trying to paint as much of the white paper as possible.
- It looks really pretty -- with no mess!
- The "goal" is to push the beads to the edges of the bag -- although they can play with it any way they want to!


More Sensory Toys for Toddlers & Preschoolers
If your toddler loves these paint bags, check out these links to even more sensory toys:
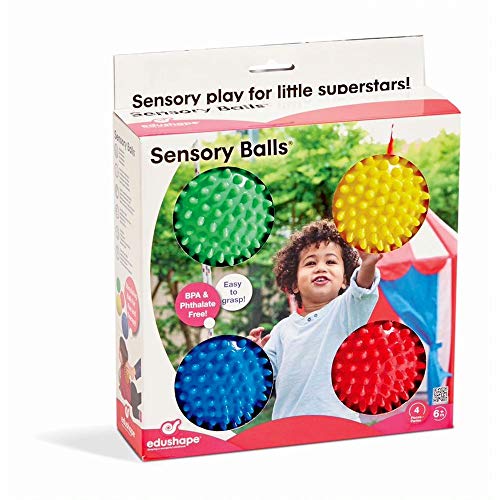
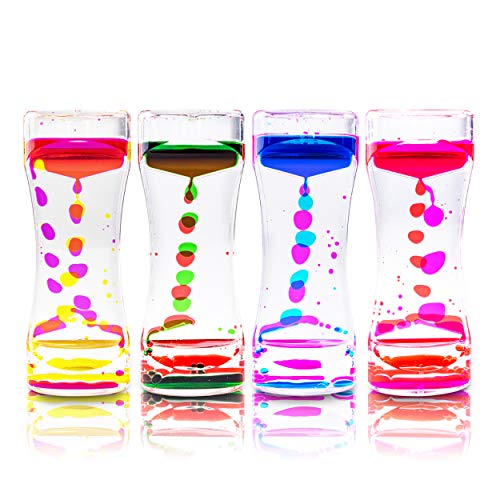
Edushape Sensory BallsLiquid Motion Bubbler for Sensory PlayReusable & Non Toxic Sensory Jelly Balls
What do sensory bags do for babies?
Sensory bags let children explore, discover, imagine, and learn while also developing their sense of touch and fine motor skills as they manipulate whatever you choose to put in the bag.
What do you put in a baby's sensory bag?
We made our sensory bags with paint, but you could use things like:
- Hair gel
- Pumpkin seeds
- Shaving cream
- Vegetable oil and food coloring
What tape is best for sensory bags?
Even though you're using a Ziploc bag, it's a good idea to also use tape to seal it shut. Gorilla tape, duct tape, and painter's tape are good, sturdy choices.


Leave a Reply