
This fall garland of leaves and pumpkins made from coffee filters is a fun craft that can kinda sorta double as a science experiment with a bit of creativity.
This is one of those crafts -- like my
If you're homeschooling, or just the idea of tying things together when you do activities, you can use this craft as part of a fall and/or harvest unit.
(If you are doing a unit study on fall, consider also making this fall tree with colored tissue paper.)
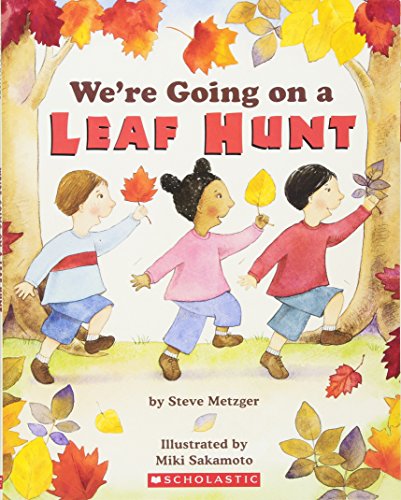
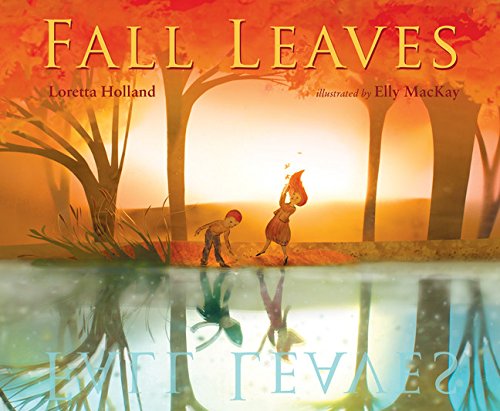
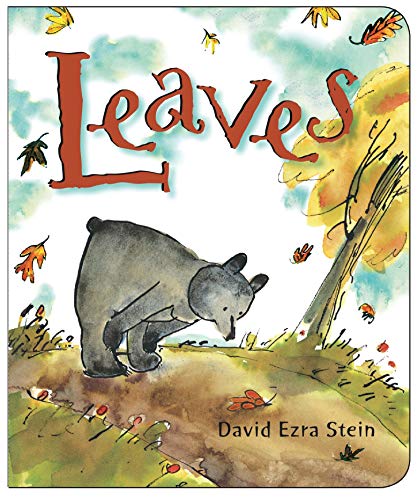
Fall Weather: Cooler Temperatures (Cloverleaf Books ™ ― Fall's Here!) We're Going on a Leaf HuntGoodbye Summer, Hello AutumnFall LeavesLeavesWhy Do Leaves Change Color? (Let's-Read-and-Find-Out Science 2)


One of the things I like about this craft is that's it's just really ... pretty. Even though it's kid-friendly, it's a nice-lookin fall decoration doesn't have that "Oh look at that cute thing that a five year old did" look to it.

Coffee Filter Leaf Craft Materials
- Parchment paper
- Large cookie sheet
- Coffee filters
- Scissors
- Orange and green markers (optional)
- Small cups
- Pencil
- Red, yellow, and green food coloring
- Medicine droppers
- Construction paper (or any other material to keep marker from bleeding on surfaces)
- Twine craft rope or yarn
- Small hole puncher

Leaf Craft Directions
- Cover a large cookie sheet with parchment paper, making sure to leave about 1 inch extra on the sides.
- Fold four coffee filters in half.

- Use a pencil to draw half a pumpkin on the coffee filter, leaving only about ½ inch from the sides.

- Use scissors to cut out the pumpkin shape. (Depending on your kid's age, this can be great cutting practice for them.)

- Unfold the coffee filters so you have four full-size pumpkins.

- Place the pumpkins on a sheet of construction paper(or something else to keep the marker from bleeding through) and draw semi-circles with an orange marker to create the ribs of the pumpkin.

- Place your pumpkins on the parchment paper lined cookie sheet, making sure to leave plenty of space between each one.
- Pour approximately ½-1 inch of water into four plastic cups, then add 5 or more drops of red food coloring to one cup, green to the second cup, yellow to the third cup, and a combination of red and yellow (to make orange) to the fourth cup.


- Use the medicine dropper to drop small drops of orange water onto the pumpkin coffee filters.


- Do the same thing with the green water on the stem of the pumpkins.


- Preheat the oven to 170℉.
- Place the pumpkins on the parchment paper in the oven, and bake for 5-6 minutes if they are only lightly wet, or 10-15 minutes if they are extremely wet.
- Check after 6 minutes, and if needed, blot excess water from the cookie sheet with paper towels.
- Remove the pumpkins from the parchment paper.
- Now it's time to do the leaves!
Three leaf templates for this project are available in my Printables Resource Library. If you don't already have the password, sign up through the form at the beginning and end of this post.
Trace and cut out the leaves on the coffee filters the same way you did for the pumpkins.


- Draw veins of your leaves with a green marker.
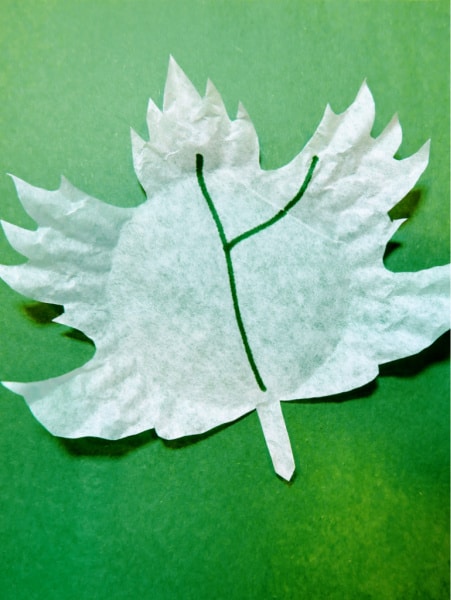


- Place the leaves on the parchment paper.

- Use all four colors of the colored water to decorate the leaves.


- Place the leaves in the oven, and repeat the baking process above.

- Once all the pumpkins and leaves are completely dry, punch two holes approximately 1-2 inches apart at the top of each one.


- String the twine rope through the holes, alternating pumpkins and leaves.
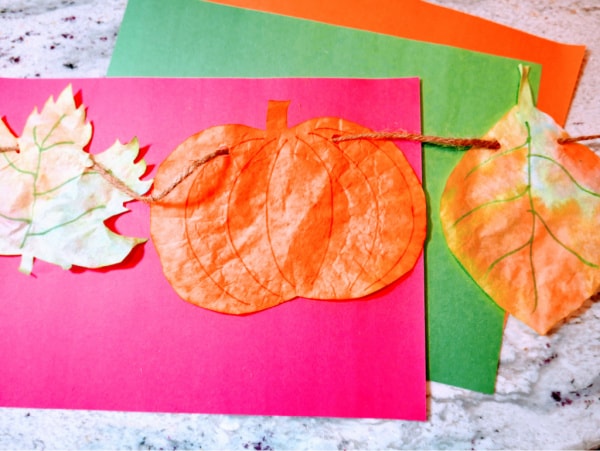
- Hang your pumpkin and leaves garland on a mantle, doorway, buffet, or anywhere else that you want to decorate for fall.

- Parchment paper
- Cookie Sheet
- Coffee Filers
- Orange & Yellow Markers
- Paper to keep markers from bleeding
- Small cups
- Red, yellow, and green food coloring
- Twine craft rope or yarn
- Medicine Dropper
- Small hole puncher
- Scissors
- Pencil
- Cover a large cookie sheet with parchment paper, making sure to leave about 1 inch extra on the sides.
- Fold four coffee filters in half.
- Use a pencil to draw half a pumpkin on the coffee filter, leaving only about ½ inch from the sides.
- Use scissors to cut out the pumpkin shape. (Depending on your kid’s age, this can be great cutting practice for them.)
- Unfold the coffee filters so you have four full-size pumpkins.
- Place the pumpkins on a sheet of construction paper to keep the marker from bleeding through.
- Draw semi-circles with an orange marker to create the ribs of the pumpkin.
- Place your pumpkins on the parchment paper lined cookie sheet, making sure to leave plenty of space between each one.
- Pour approximately ½-1 inch of water into four plastic cups, then add 5 or more drops of red food coloring to one cup, green to the second cup, yellow to the third cup, and a combination of red and yellow (to make orange) to the fourth cup.
- Use the medicine dropper to drop small drops of orange water onto the pumpkin coffee filters.
- Do the same thing with the green water on the stem of the pumpkins.
- Preheat the oven to 170℉.
- Place the pumpkins on the parchment paper in the oven, and bake for 5-6 minutes if they are only lightly wet, or 10-15 minutes if they are extremely wet.
- Check after 6 minutes, and if needed, blot excess water from the cookie sheet with paper towels.
- Remove the pumpkins from the parchment paper.
- Trace and cut out leaves with the coffee filter using the 3 leaf templates.
- Draw veins of your leaves with a green marker.
- Place the leaves on the parchment paper.
- Use all four colors of the colored water to decorate the leaves.
- Place the leaves in the oven, and repeat the baking process above.
- Once all the pumpkins and leaves are completely dry, punch two holes approximately 1-2 inches apart at the top of each one.
- vString the twine rope through the holes, alternating pumpkins and leaves.
- Hang your pumpkin and leaves garland on a mantle, doorway, or anywhere you want to decorate for autumn,
More Crafts for Kids

Coffee Filter Leaf & Pumpkin Craft
Materials
Tools
Instructions
Recommended Products
As an Amazon Associate and member of other affiliate programs, I earn from qualifying purchases.


Leave a Reply