
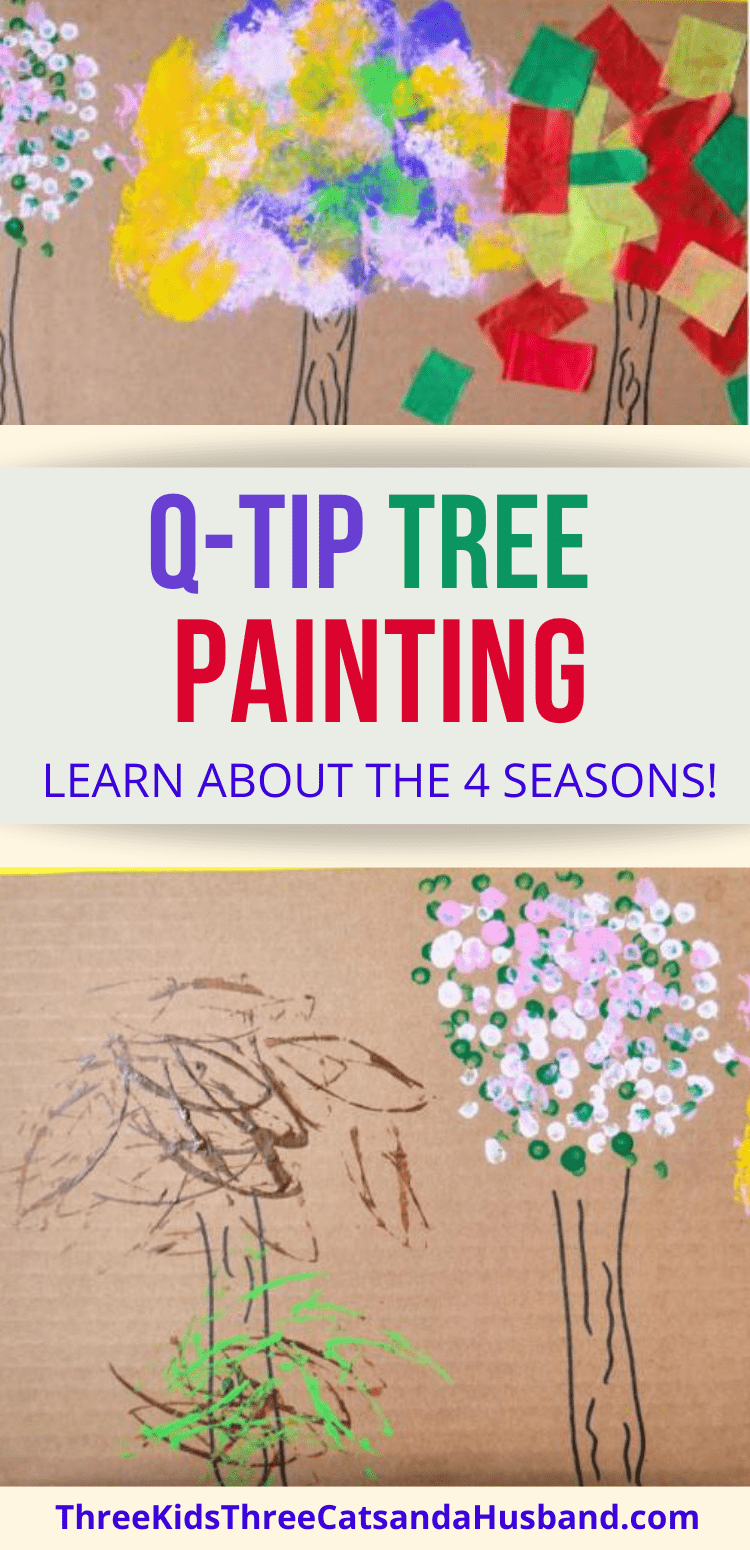
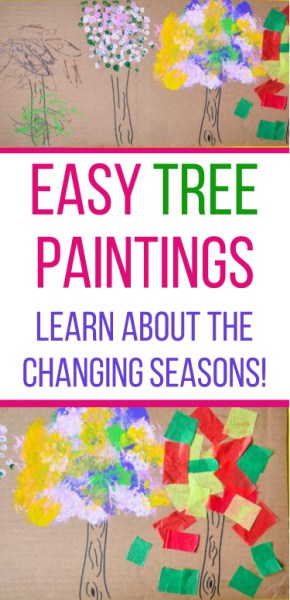
Here's a great art project that not only helps kids learn about creating texture and layering colors, but also is a way to learn about the changing seasons.
We did our trees by painting with one Q-tip at a time, but I've also seen people doing it by bundling up 15 or so Q-tips with a rubber band. Feel free to play around with both techniques and see which you prefer.
If you're learning about the four seasons, consider combining this art project with one or more of these books:
Goodbye Summer, Hello Autumn Stories of the SeasonsThe Reasons for Seasons (New & Updated Edition)


We chose to make one art project with all four seasons of a tree, but there's no reason why you can't break this up into four different projects to use at different times of the year: Make fall tress in the fall, make spring trees in the spring, etc.
Tree Painting Materials
- Cardboard, poster board, or
foam board, approximately 10"x30" (we used cardboard) - Scissors
- Empty toilet paper or paper towel roll
- Paper plate
- Cotton balls
- Cotton swabs(aka Q-Tips)
- Tissue paper, cut in 1 inch squares (red, orange, green and yellow)
- Black or brown Sharpie marker
- Clothespins
- Glue sticks
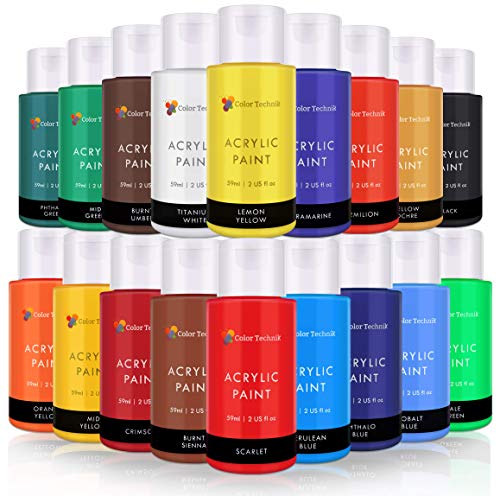
- Craft acrylic paint (brown, dark green, light green, pink, purple, orange, yellow, brown)

Tree Painting Directions
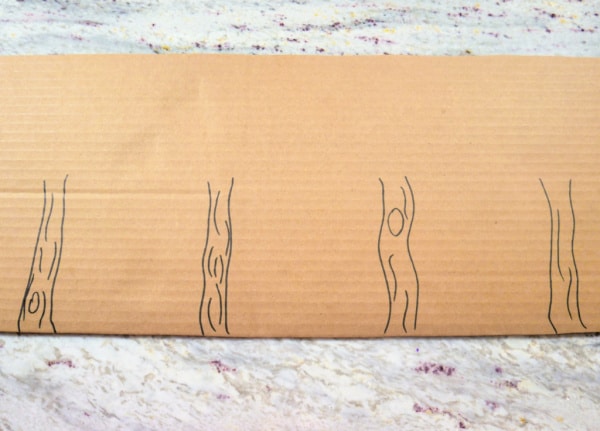
- Begin by drawing the trunks of 4 trees, spaced evenly apart, on your cardboard with a Sharpie marker.

- Use scissors to cut your toilet paper roll roughly into thirds.

- Press each piece of the roll flat, creating a marquise shape.


- Add brown and green paint to your paper plate.

- Dip one open end of the toilet paper roll into the brown paint ...

- ... and dab it on the first tree trunk to create a bare winter tree.
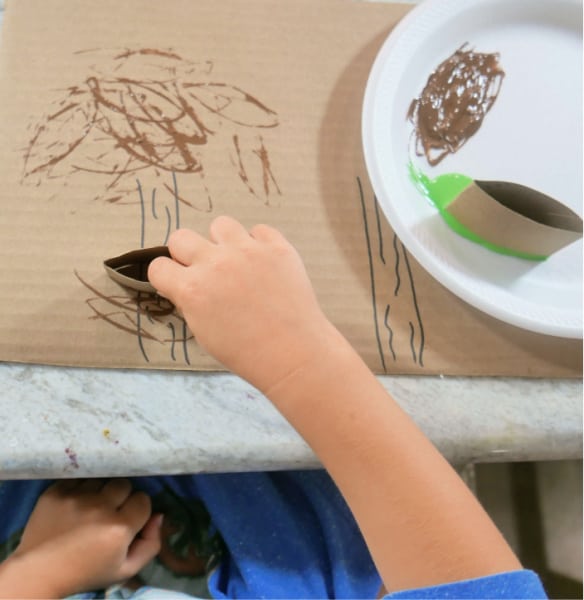
- You can also add some "leaves" with the brown paint and use green paint also at the bottom of the tree trunk.

- Add some pink, purple, orange, or any other colors you choose to the paper plate.
Dip a Q-tip into the paint ...

- ... and dot the second tree with multiple colors to represent the buds on a tree in spring.


- Pick up a cotton ball with the clothespin ...

- ... then dip the cotton ball into paint and dab it on the third tree to represent a tree in full bloom in summer.

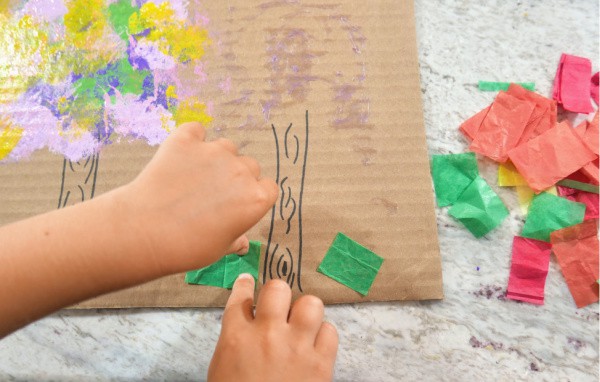
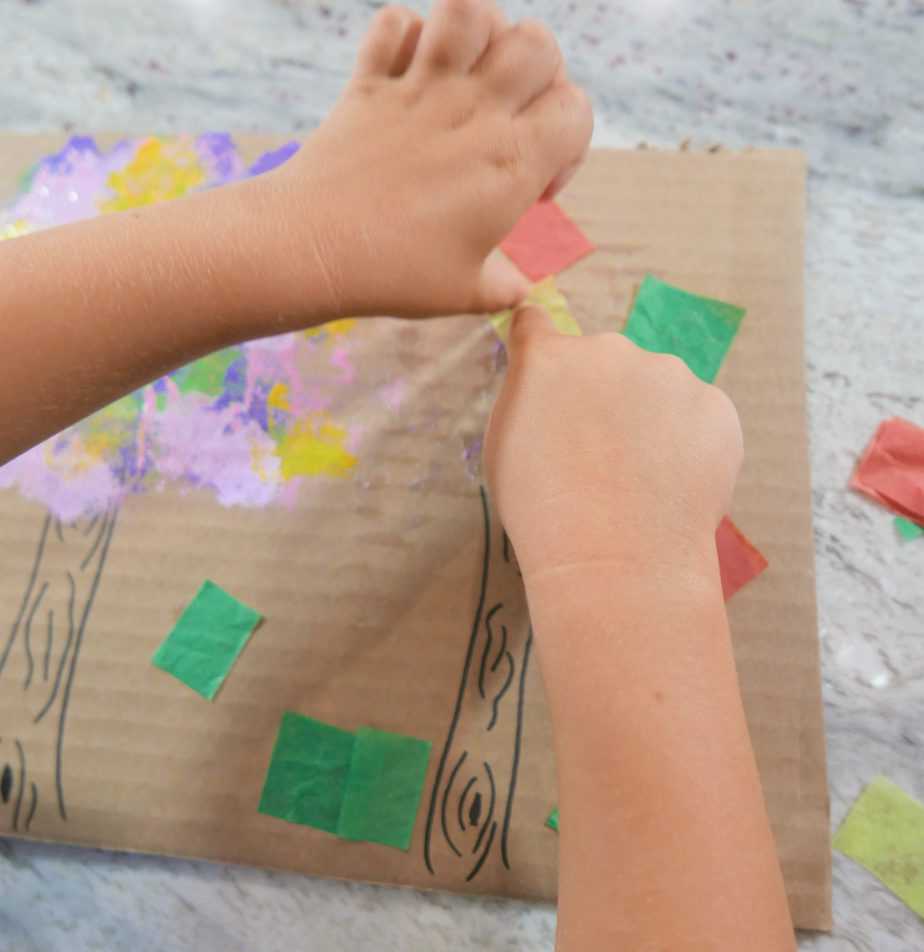
- Finally, use a glue stick to attach the tissue paper squares in varying colors to the fourth tree to represent the changing of colors of the leaves in fall.
- Allow the paint to dry and enjoy your artwork!

What do children learn from painting with Q tips?
Using q-tips to paint with is an easy (and cheap!) way to help develop a child's fine motor skills. The grip builds the smaller muscles of the hand, improves thumb opposition, and improves the hand's ability to adapt to objects that are different sizes, shapes, and weights.
What are the benefits of painting with cotton balls?
Painting with cotton balls is another way for children to improve thumb opposition and give the hand practice adapting to gripping objects with various sizes, shapes, and weights. It also helps create a a unique and beautiful result.
More Painting Activities for Kids

Seasons of a Tree Painting Activity for Kids
Materials
- Acrylic paints
- Cardboard or posterboard, roughly 10" by 30"
- Cotton Balls
- Q-Tips
- Toilet paper roll
- Sharpie marker
- Colored tissue paper squares
Tools
- Scissors
- Glue sticks
- Clothespins
- Paper plate
Instructions
- Begin by drawing the trunks of 4 trees, spaced evenly apart, on your cardboard with a Sharpie marker.
- Use scissors to cut your toilet paper roll roughly into thirds.
- Press each piece of the roll flat, creating a marquise shape.
- Add brown and green paint to your paper plate.
- Dip one open end of the toilet paper roll into the brown paint and dab it on the first tree trunk to create a bare winter tree.
- Add some “leaves” with the brown paint and use green paint also at the bottom of the tree trunk.
- Add some pink, purple, orange, or any other colors you choose to the paper plate.
- Dip a Q-tip into the paint and dot the second tree with multiple colors to represent the buds on a tree in spring.
- Pick up a cotton ball with the clothespin and then dip the cotton ball into paint and dab it on the third tree to represent a tree in full bloom in summer.
- Finally, use a glue stick to attach the tissue paper squares in varying colors to the fourth tree to represent the changing of colors of the leaves in fall.
- Allow the paint to dry.
Notes
You can create a painting with all 4 trees lined up, or focus on one tree at a time depending on what season it currently is.
Recommended Products
As an Amazon Associate and member of other affiliate programs, I earn from qualifying purchases.


Leave a Reply