
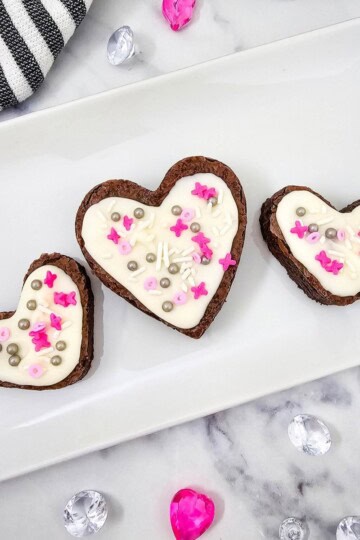
If you're looking for a quick and fun treat that everyone will love, you're in the right place. These no-bake chocolate marshmallow sticks are easy to make and even easier to enjoy. With just a few ingredients and no oven time, this recipe is perfect for getting kids involved in the kitchen or for whipping up something sweet in a pinch.

These chocolate marshmallow pops are especially popular around holidays like Valentine's Day, Christmas, or even Halloween-just swap the sprinkles to match the season.
They also pair perfectly with festive Christmas Popcorn for a fun, sweet-and-salty snack combo. The colorful crunch of the popcorn balances the soft marshmallows and rich chocolate for a treat everyone will love.

Ingredients

- Marshmallows give the pop its shape and soft texture.
- Chocolate chips melt down into a smooth coating that hardens just right.
- Heart sprinkles add a colorful crunch and make them festive.
- Parchment paper makes cleanup quick and prevents the pops from sticking.
See recipe card for quantities.
How to Make Chocolate Marshmallow Sticks

Start by lining a baking sheet with parchment paper. This helps with cleanup and keeps the marshmallow pops from sticking.
Thread three marshmallows onto each cake pop stick. Space them out evenly and make sure they're secure.

Pour the chocolate chips into a shallow bowl. Melt them in the microwave in 30-second intervals, stirring after each time, until the chocolate is smooth and fully melted.
Dip each marshmallow pop into the melted chocolate. Use a spoon to help cover them completely.

Place the chocolate-coated marshmallow pops on the lined baking sheet. Right away, add the heart sprinkles before the chocolate sets.
Put the baking sheet in the refrigerator and chill the pops for about an hour, or until the chocolate is firm.
Hint: Let the chocolate cool slightly before dipping if it's too hot. It sticks better and helps avoid drips.
Substitutions & Variations
- Dairy-Free: Use dairy-free chocolate chips for an allergy-friendly version.
- Holiday Ready: Change up the sprinkle colors for different occasions.
- Nutty Crunch: Sprinkle crushed peanuts or almonds on top for extra texture.
- Kid-Friendly: Add colorful mini candies or cookie crumbs as a topping.
💭Crucial Success Tips
Make sure to melt the chocolate slowly and stir between each microwave session to avoid burning it. Using a spoon helps with even coating, and adding sprinkles while the chocolate is still wet ensures they stick.
FAQ
Yes, just use fewer per stick and be sure they're secure.
They're best fresh, but you can freeze them if needed. Just be aware that the texture may change slightly.
Yes, you can use milk, dark, white chocolate, or even candy melts. Just make sure the chocolate is melted smoothly so it coats the marshmallows evenly. Using different types lets you match the flavor or color to any occasion.
📖 Recipe

Chocolate Marshmallow Sticks
Ingredients
Method
- Start by lining a baking sheet with parchment paper. This helps with cleanup and keeps the marshmallow pops from sticking.
- Thread three marshmallows onto each cake pop stick. Space them out evenly and make sure they're secure.
- Pour the chocolate chips into a shallow bowl. Melt them in the microwave in 30-second intervals, stirring after each time, until the chocolate is smooth and fully melted.
- Dip each marshmallow pop into the melted chocolate. Use a spoon to help cover them completely.
- Place the chocolate-coated marshmallow pops on the lined baking sheet. Right away, add the heart sprinkles before the chocolate sets.
- Put the baking sheet in the refrigerator and chill the pops for about an hour, or until the chocolate is firm.
How to Store Chocolate Marshmallow Sticks
Place the pops in a single layer in an airtight container. Keep them in the fridge for up to 3-4 days. Freezing is possible, but they may sweat slightly when thawed.
Summer
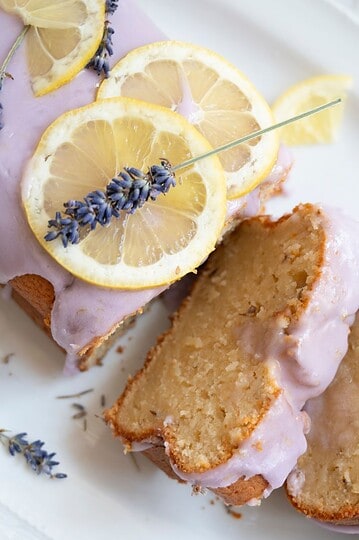
- Lemon Lavender Pound Cake
- Greek Yogurt Lemon Poppy Seed Muffins with Lemon Glaze
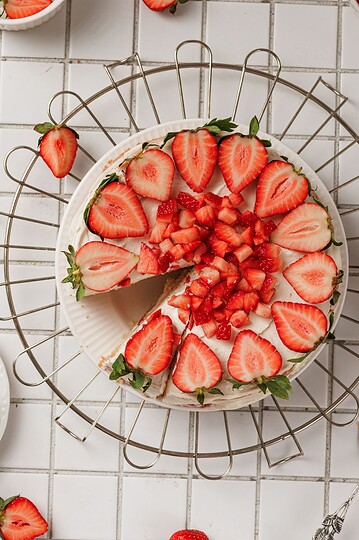
- Strawberry Shortcake Layer Cake
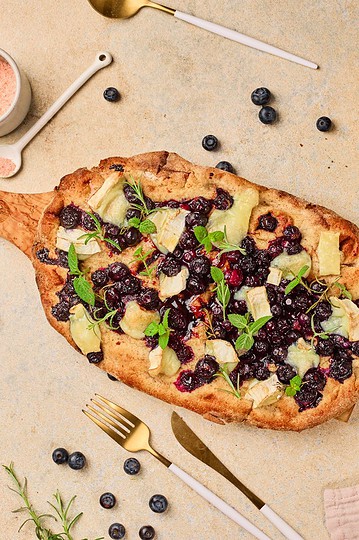
- Blueberry Goat Cheese Flatbread

Pin it for Later


Leave a Reply