
This dinosaur string art is a unique craft that has the benefit of teaching your kid the real-life skill of hammering (depending on their age.)
If you've never done string art before, this post has everything you need to know to get started. Not only that, but I've included some tips about string art in general so that you can continue making more projects on your own.
Now I don't pretend to be a string art expert, but I did a little research to find the answers to common questions which may come in handy, especially if you want to continue doing more string art, and/or if you want to customize this project a little.
What is the best wood for string art?
The website Nevaska.ca had some good tips about choosing your wood:
- Any type of softwood (such as cedar, fir, pine, or redwood) works best. Not only are they sturdier and don't crack, but they're easier to hammer nails into.
(What's not a softwood, you may ask? Oak, maple and walnut are all hardwoods.)
- Your wood should be thick enough to "withstand at least half of the nails hammered into its surface." This is usually going to be about 2cm, or a little under an inch.
- Don't use wood panels with any kind of melamine coating. It cracks very easily and you'll end up with marks and holes when you start hammering in the nails.
I'll also add that, if you're considering your string art to be something you can set on a bookshelf, you'll want to choose a thicker, more "chunky" piece of wood so that the finished project can stand up.
Can you use a nail gun for string art?
No, and you'll see why when you scroll down and see the process photos. Nail guns are too big to get the nails as close together as they need to be.
What kind of string do you use for string art?
A ball of cheap crochet yarn works just fine.
The Creative Folk says you can also use cotton embroidery flossif you want a thinner, more delicate look.
(NOTE: I included the link so you can see what it looks like, but do not buy it from Amazon because it is way overpriced. You could get that amount of DMC floss for under $5 at Michael's.)
Other recommended strings include:

String Art Craft Kits
Of course, you can always save yourself the trouble of finding the right piece of wood and painting it -- and just buy a string art kit instead. (Or, ideally, you can both!)
There are some really cute ones out there. Most, if not all, of these kits include 3 different canvases.
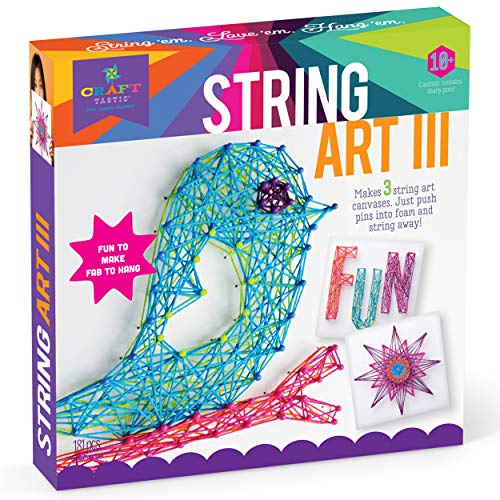
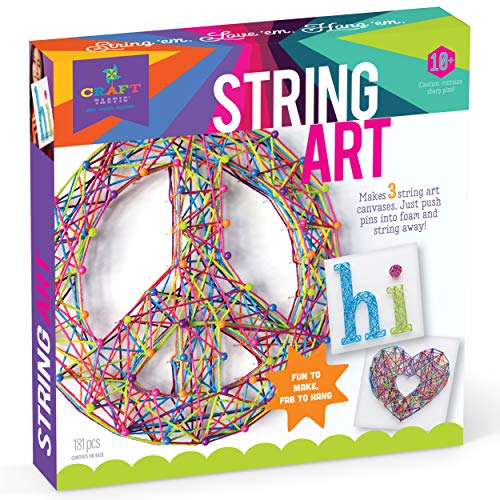
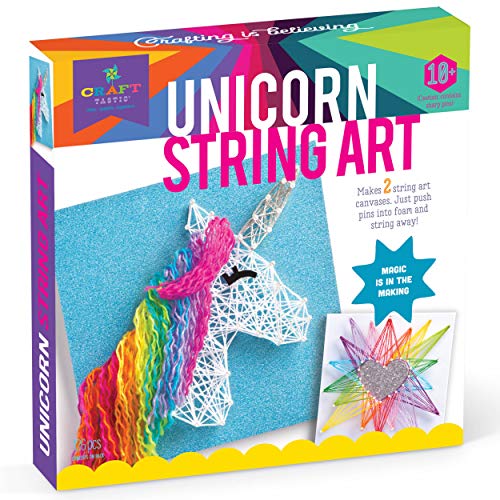
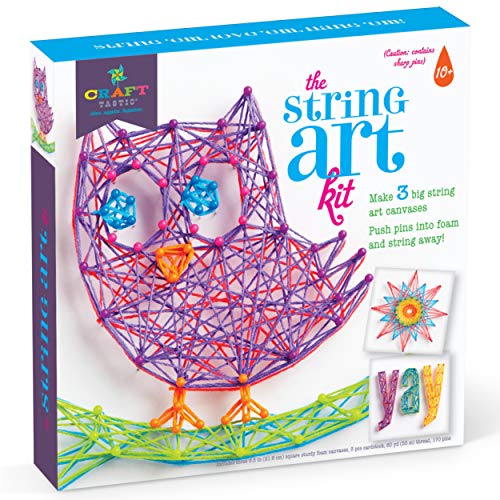
Craft-tastic - String Art Kit - Bird Edition Craft-Tastic - String Art Kit - Peace Sign EditionCraft-tastic - String Art Kit - Unicorn EditionCraft-tastic - String Art Kit - Owl Edition
Okay ... now that you're officially a string art wizard, let's go ahead and make this dinosaur!
First of all, you're going to need the stegosaurs dinosaur template. (Unless, of course, you just want to draw your own freehand dinosaur, which is always an option.)
You can find the template (and a lot of other cool things, I might add) in my free printables library.)
If you don't already have the super-secret password to access the library, just fill out the form below and I'll send it to you within minutes:

Materials Needed for Dinosaur String Art
- Yellow, Orange, and Green Craft Paint
- ½"x7"x12" piece of smooth flat wood (we used scrap wood that was leftover from home projects, but you can also get these at a craft store)
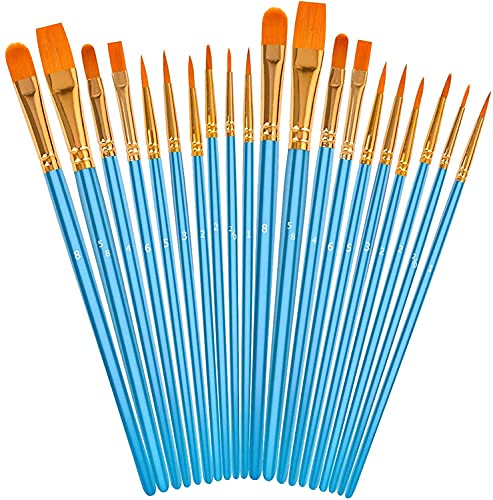
- Craft Paint Brushes
- 17x1" Wire Nails, or any small hardware nail
- Hammer
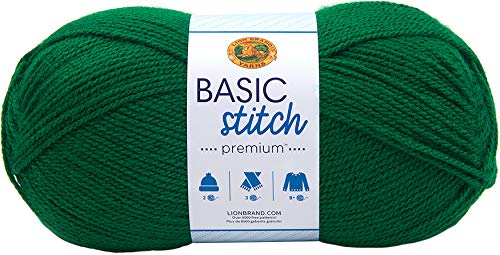
- Green Yarn
- Pencil
- Dinosaur Template (see note above)
- Scissors
(we used 86 nails to make our dinosaur, but your mileage may vary)

Dinosaur String Art Directions
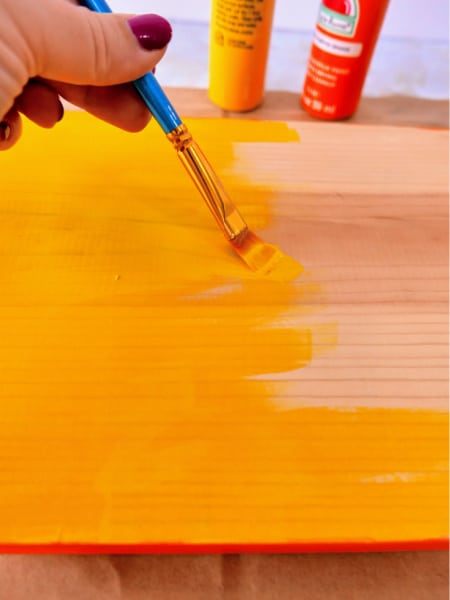
- Paint the outer edge only of the wood with the orange craft paint. We just painted it freehand, but it you want to be extra careful, you can line the edges with painter's tape first.
- Paint a second coat after the first one dries.
- Paint the front side of the wood with the yellow paint.
- Again, paint a second coat once the first one dries. If you want a really solid color, you could go on to give it 3 or even 4 coats, but we stopped at 2 because we wanted to still see the wood grain behind the paint.
- Use scissors to cut out the dinosaur from the template provided.

- Place the template centered on the yellow painted side of the wood, and outline with a pencil. If you make any stray marks, you can always cover with additional yellow paint.


- Paint the outlined dinosaur with the green paint. Again, paint a second or third coat depending on your preference.


- After the green paint is dry, begin hammering your nails along the outline of the dinosaur.

- When you're going around the spikes on the back of the dinosaur, make you're placing the nails close enough together to outline the shape of the spike. If they're too far apart, then the shape of the spikes will be distorted.

- Once you get to the tail and legs you can begin to space them a little further apart.


- Tie the yarn in a double knot around one of the nails.
- Start outlining the dinosaur with the yarn, making sure to wrap the yarn all the way around the nail before moving to the next one.
- Once you make it all the way around the dinosaur with the yarn, start crisscrossing the yarn back and forth across the nails in any pattern you choose. There's no right or wrong way to do this, so just have fun with it.


- Once you have finished, tie the yarn in a double knot again around one of the nails. Use scissors to cut the yarn close so that where you tied off is not noticeable.

- Yellow, Orange, and Green Craft Paint
- ½”x7”x12” piece of smooth flat wood
- 17×1” wire nails
- Dinosaur template
- Craft Paint Brushes
- Pencil
- Hammer
- Scissors
- Paint the outer edge only of the wood with the orange craft paint. Let it dry, then paint a second coat.
- Paint the front side of the wood with the yellow paint. Paint a second and even third coat, depending on how you want it to look.
- Cut out the dinosaur template, then place it centered on the yellow painted side of the wood, and outline with a pencil.
- Paint the outlined dinosaur with the green paint. Again, paint a second or third coat depending on your preference.
- After the green paint is dry, begin nailing your nails along the outline of the dinosaur.
- Tie the yarn in a double knot around one of the nails and then start outlining the dinosaur with the yarn, making sure to wrap the yarn all the way around the nail before moving to the next one.
- Once you make it all the way around the dinosaur with the yarn, start crisscrossing the yarn back and forth across the nails in any pattern you choose.
- Once you have finished, tie the yarn in a double knot again around one of the nails. Use scissors to cut the yarn close so that where you tied off is not noticeable.
- Hang your dinosaur on the wall or place him on a bookshelf!


Now you've got a cool dinosaur you can give as a gift, display on a table or hang on your wall.

If you haven't already discovered Command Picture Hanging Velcro Strips, I suggest you check them. It's an easy way to hang art projects, and they won't damage your wall.
Dinosaur String Art
Materials
Tools
Instructions
Notes
When you’re going around the spikes on the back of the dinosaur, make you’re placing the nails close enough together to outline the shape of the spike; otherwise the shape of the spikes will be distorted.
Recommended Products
As an Amazon Associate and member of other affiliate programs, I earn from qualifying purchases.


Love Dinosaurs? Check out these other dino posts


Leave a Reply