
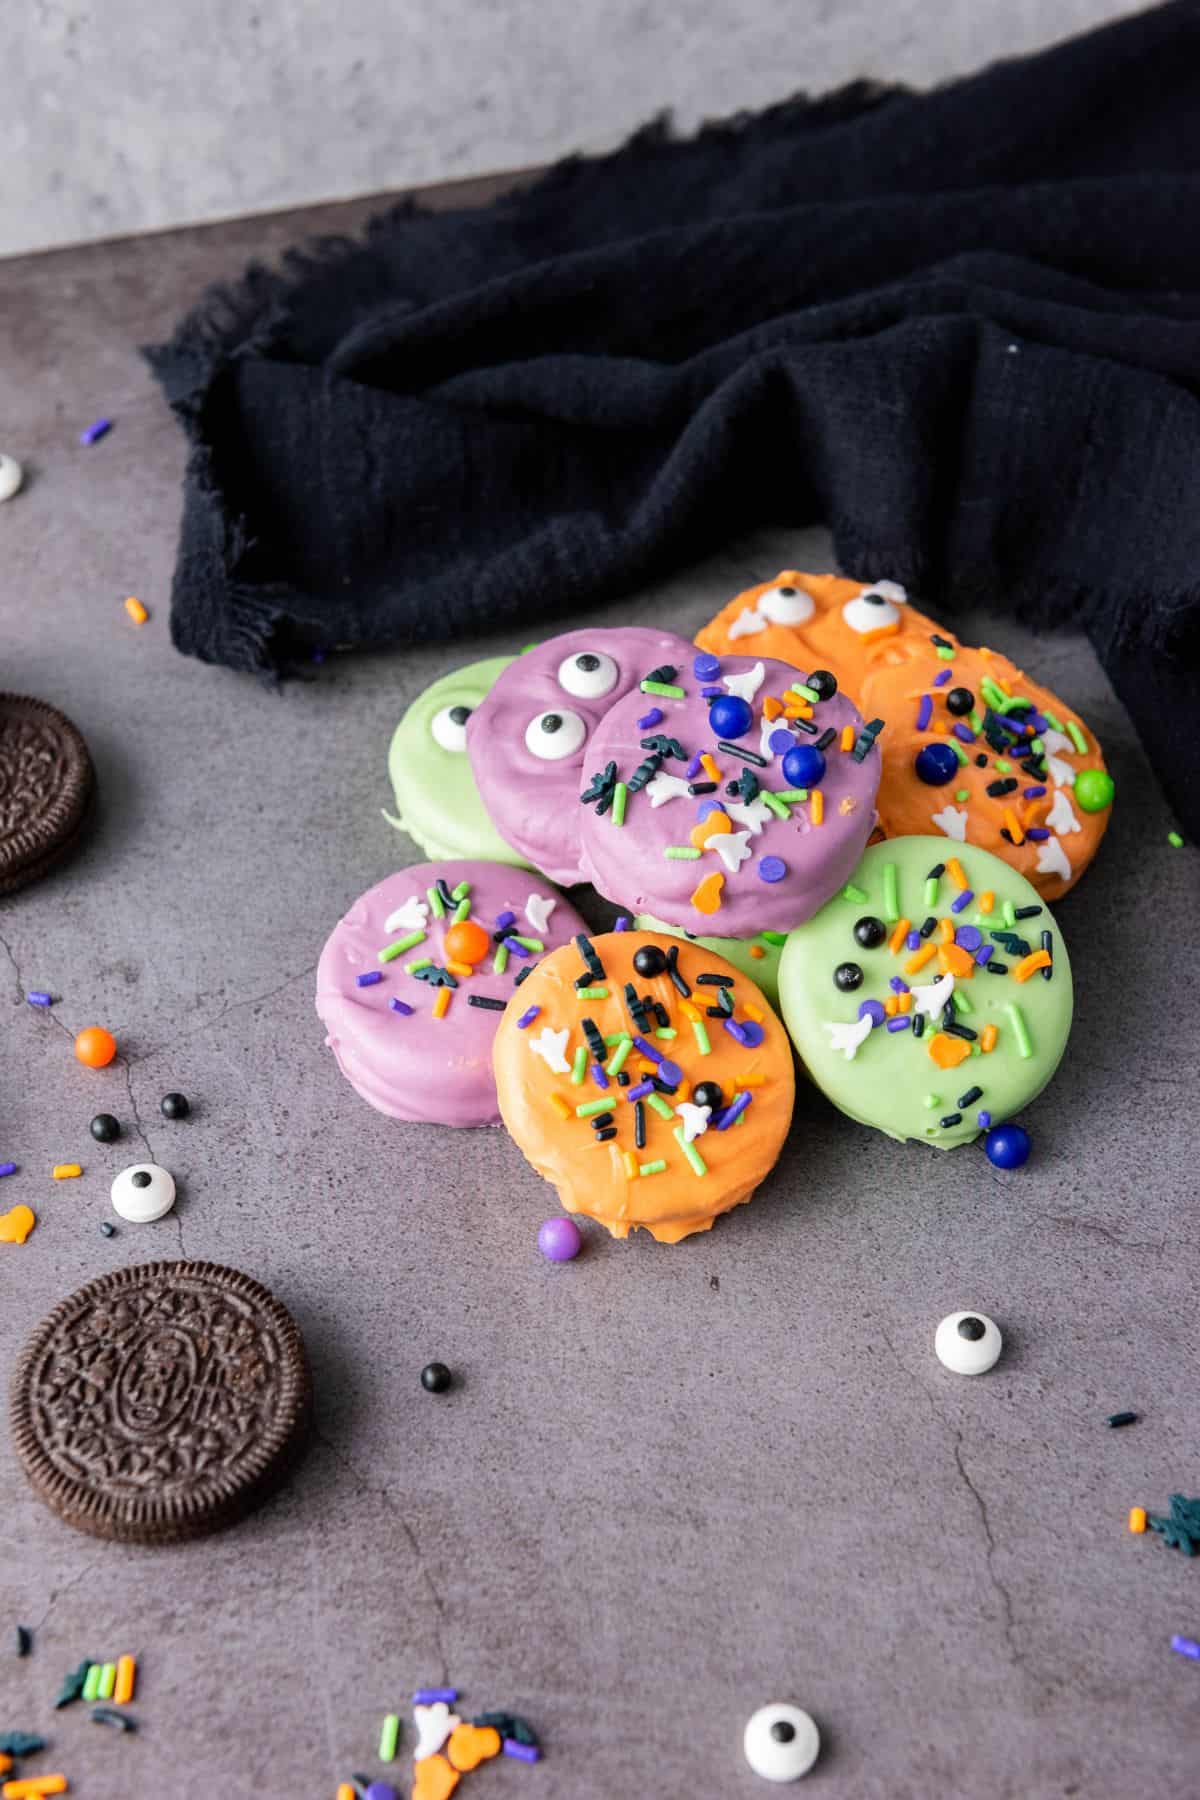
Looking for a super fun and easy treat to make this spooky season? These Fun Halloween Oreo Treats are a total hit with kids and adults alike. You only need a few simple ingredients to turn regular Oreos into colorful, festive snacks. This recipe is great for Halloween parties, school events, or just a weekend of family fun. Let's get started-you're going to love how quick and creative these are!
These treats are especially popular during October, but honestly, they're fun to make any time you want a playful and colorful snack. They're perfect for Halloween parties, trick-or-treat handouts, classroom celebrations, or even just rainy afternoons indoors.
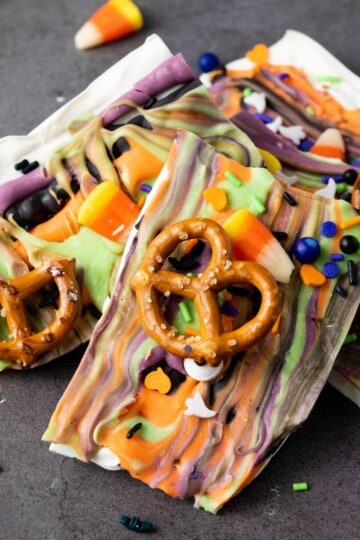
This recipe pairs perfectly with other fun Halloween treats like Colorful Halloween Candy Bark and Air Fryer Halloween Mummy Dogs. Both recipes add festive flavor and fun to your Halloween party spread.
Ingredients
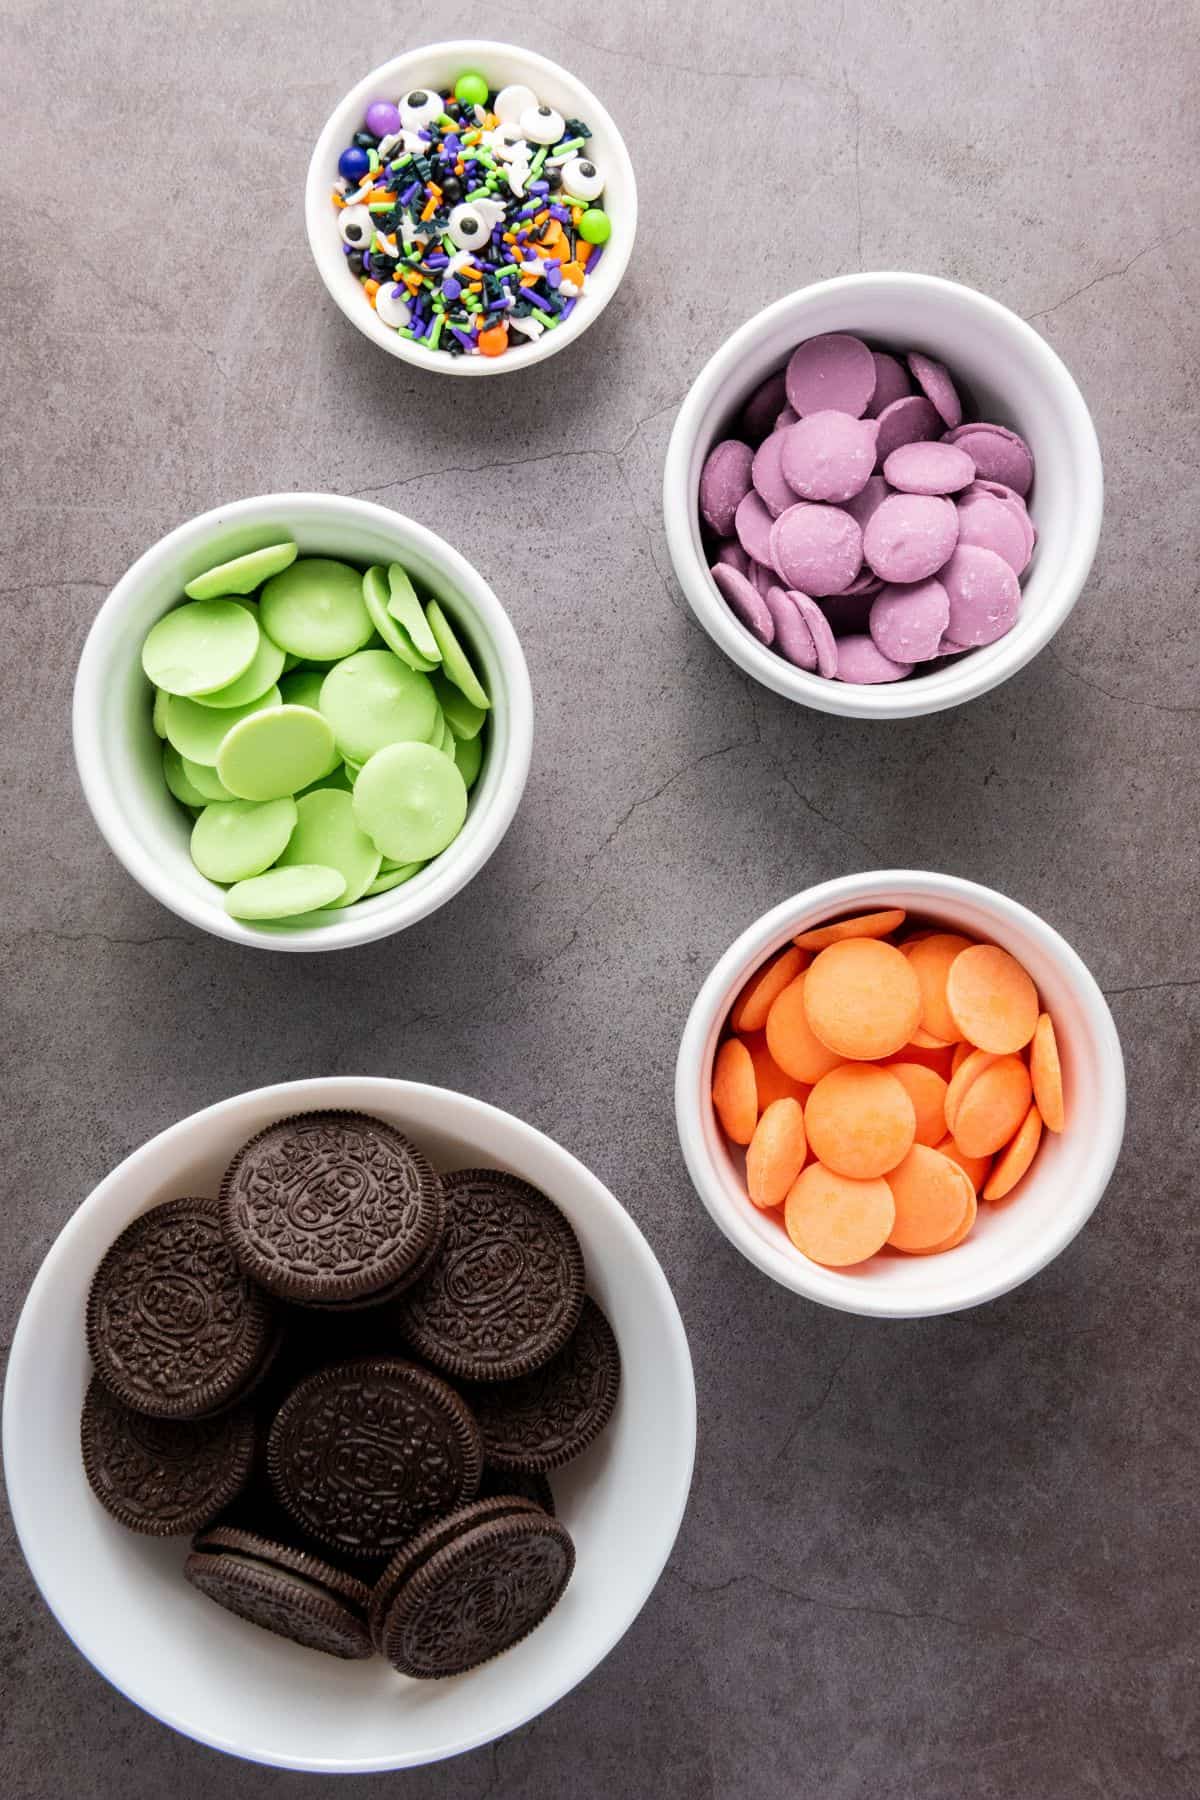
- Halloween Oreos are classic Oreos with orange filling and a festive seasonal design.
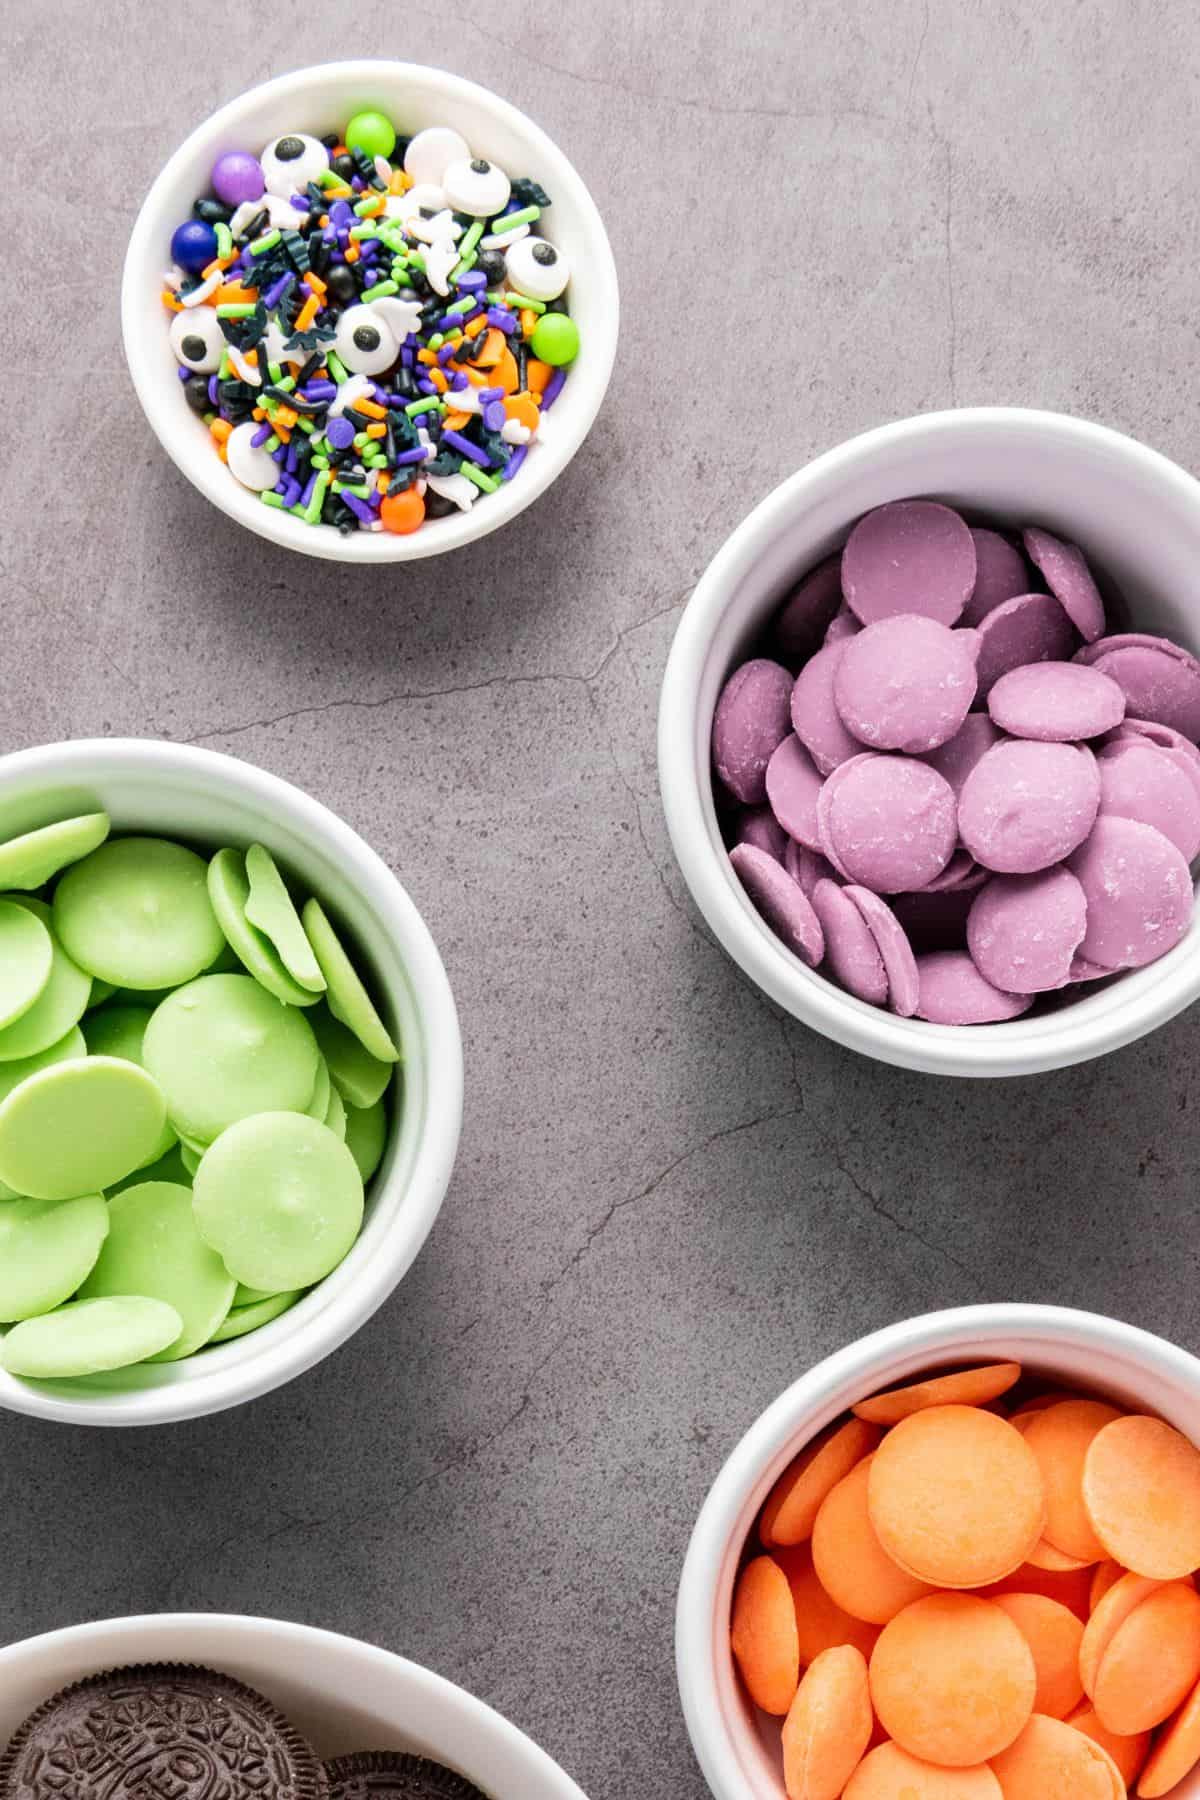
- Candy melts in purple, green, and orange are used to coat the Oreos in bright, fun colors.
- Halloween sprinkles add color and texture to make each cookie look playful and unique.
See recipe card for quantities.
How to Make Fun Halloween Oreo Treats
Line a baking sheet with parchment paper or a silicone mat. Put Halloween sprinkles into small bowls so they're easy to grab.
Place purple, green, and orange candy melts into three separate microwave-safe bowls.
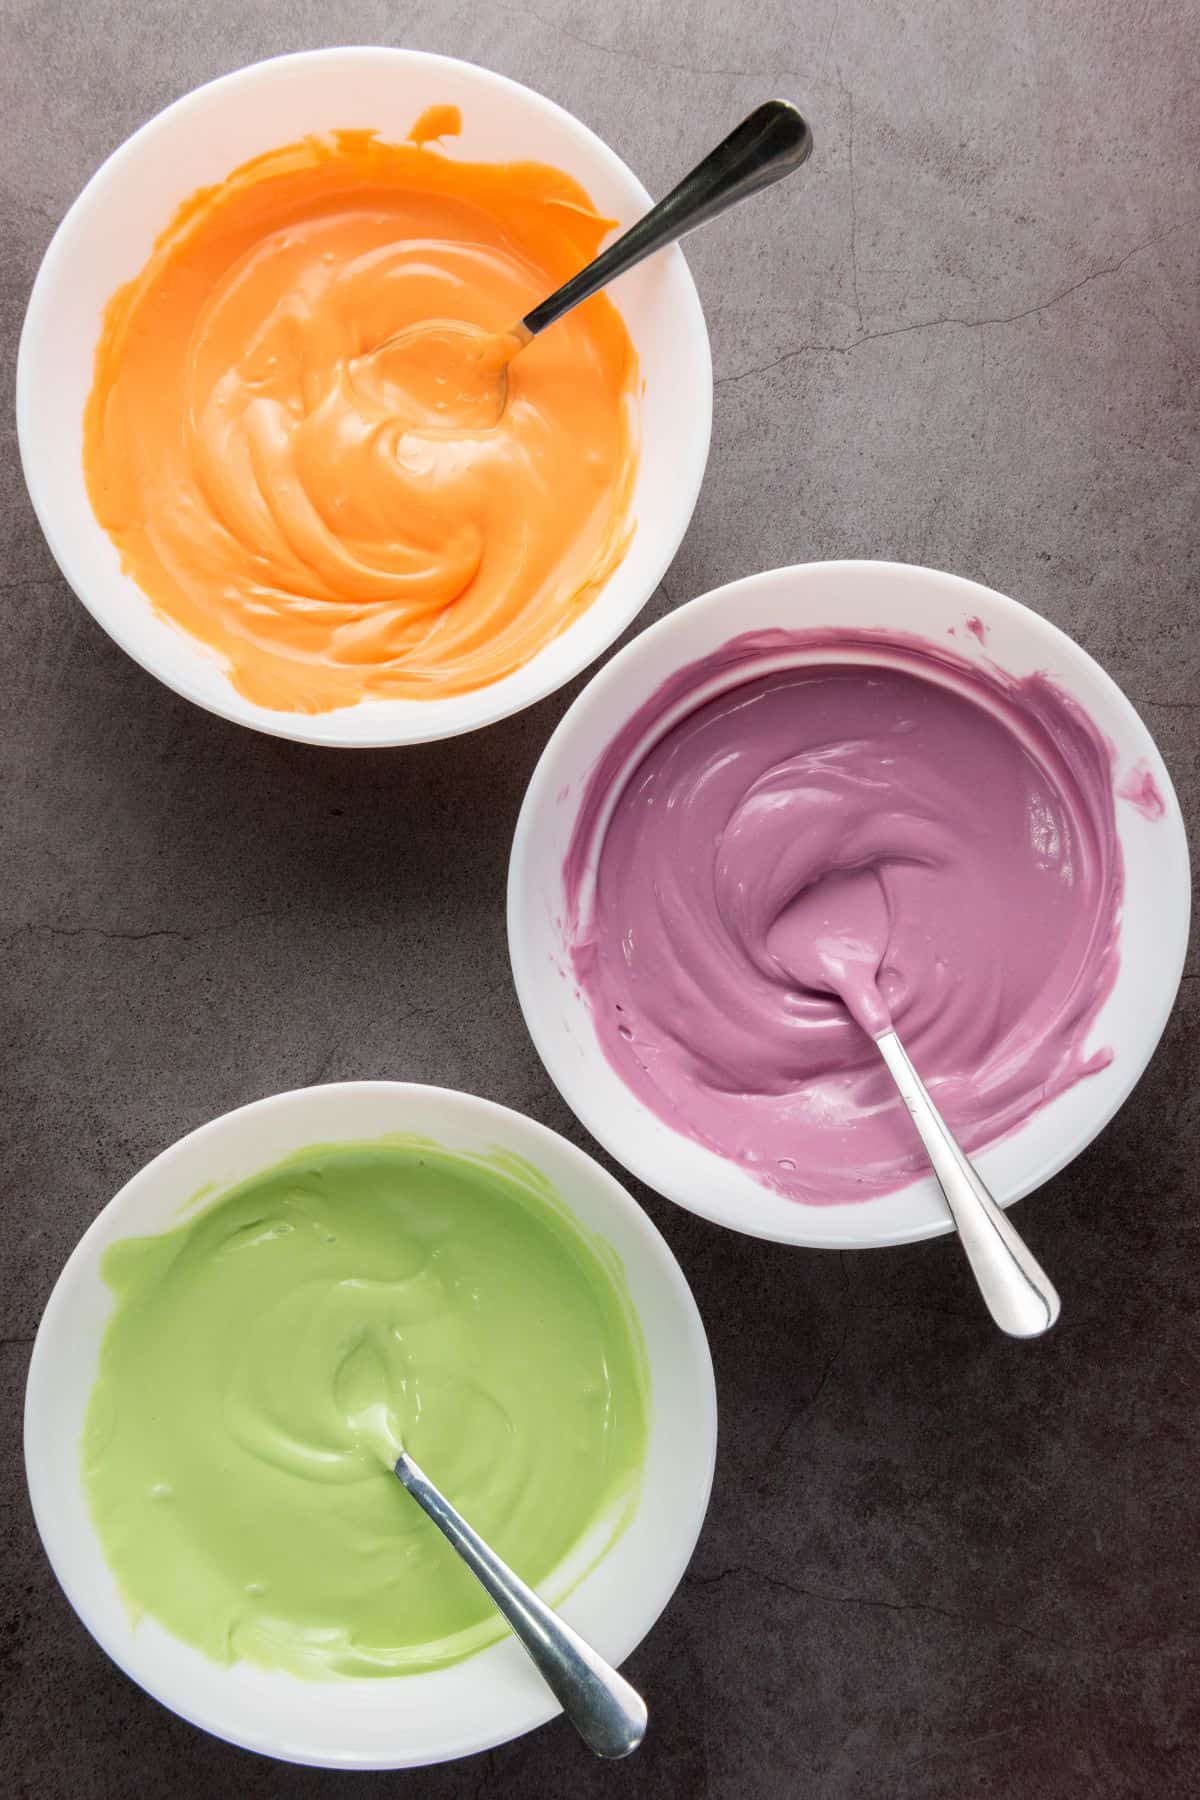
Microwave one bowl at a time in 30-second intervals, stirring after each round, until smooth and fully melted.
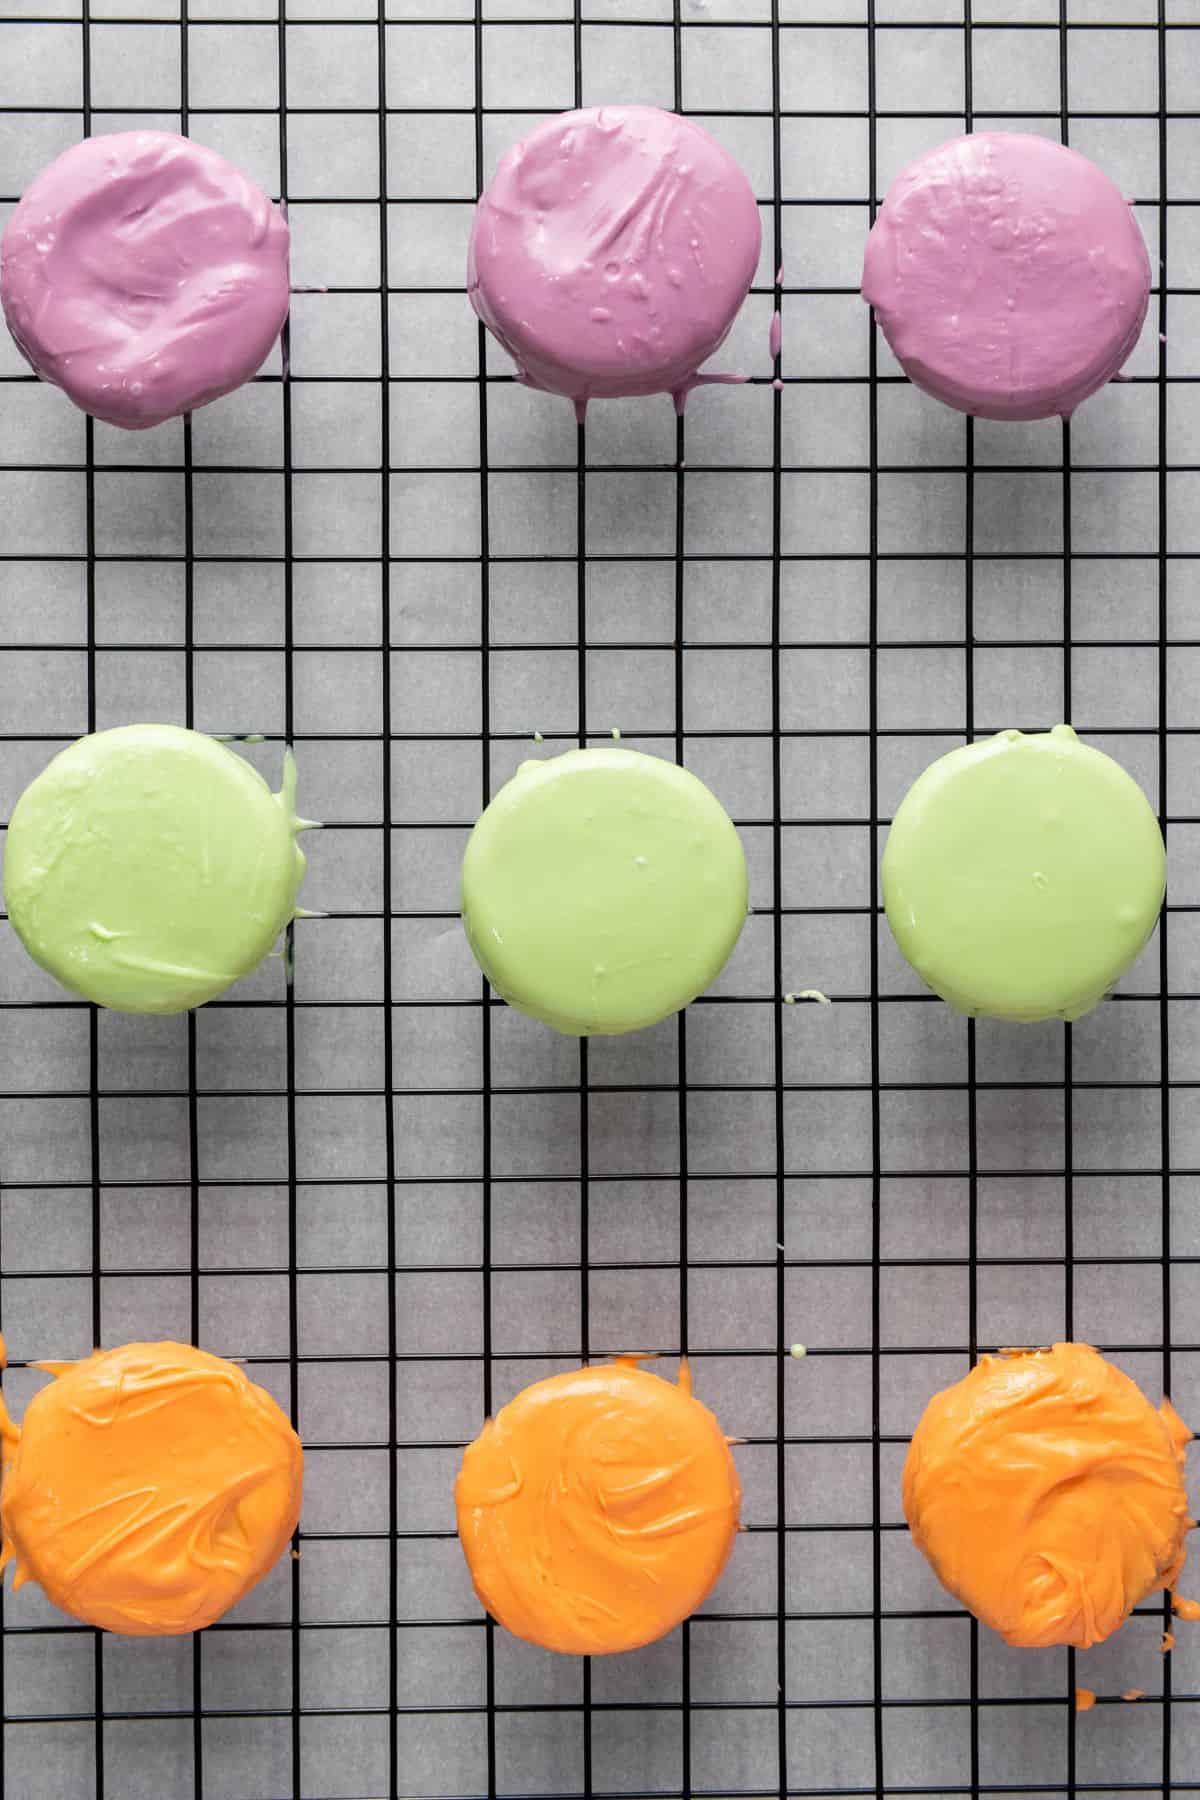
Use a fork or dipping tool to dip each Oreo into the melted candy until fully coated. Let the extra drip off, then place it on the baking sheet. Dip 4 Oreos in each color: purple, green, and orange.

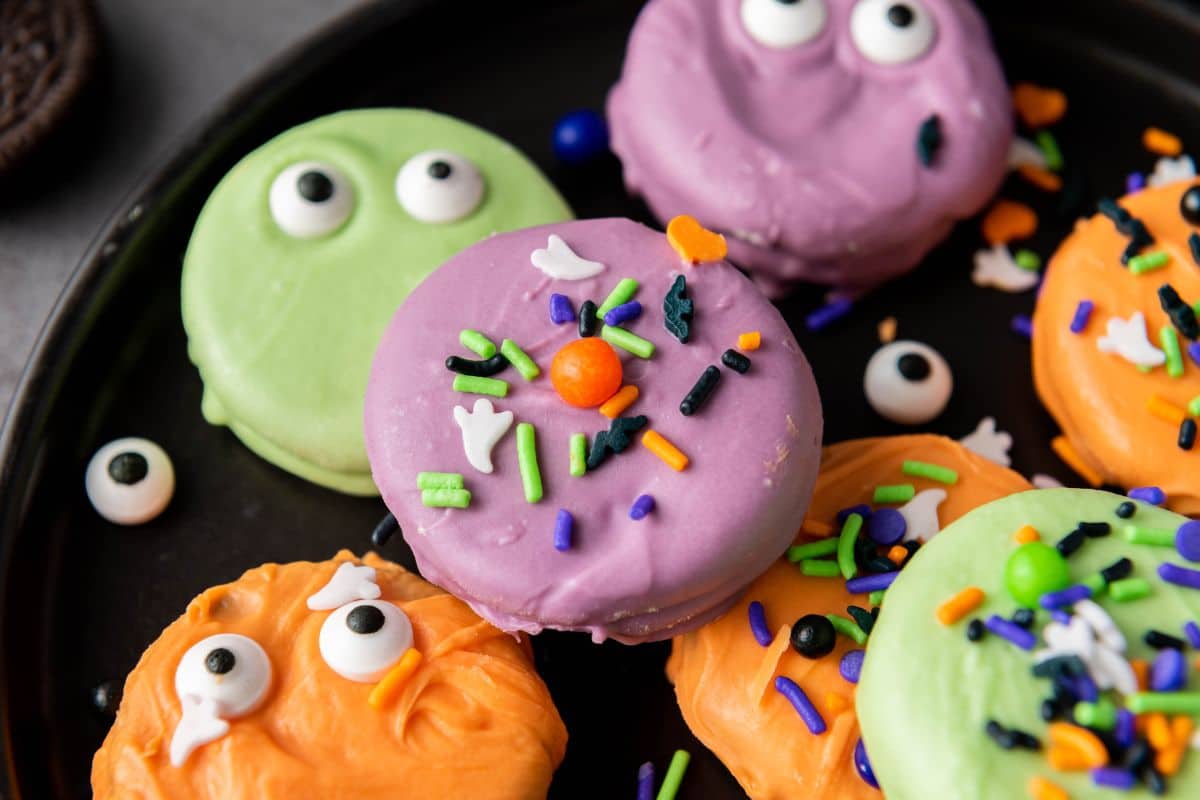
While the coating is still wet, sprinkle Halloween sprinkles on top of each Oreo. Get creative with your sprinkles to make each Oreo unique and festive.
Allow the decorated Oreos to sit at room temperature until the candy coating has completely hardened. This can take about 30 minutes to an hour. If you're in a hurry, you can place the baking sheet in the refrigerator for about 15 minutes to speed up the process.
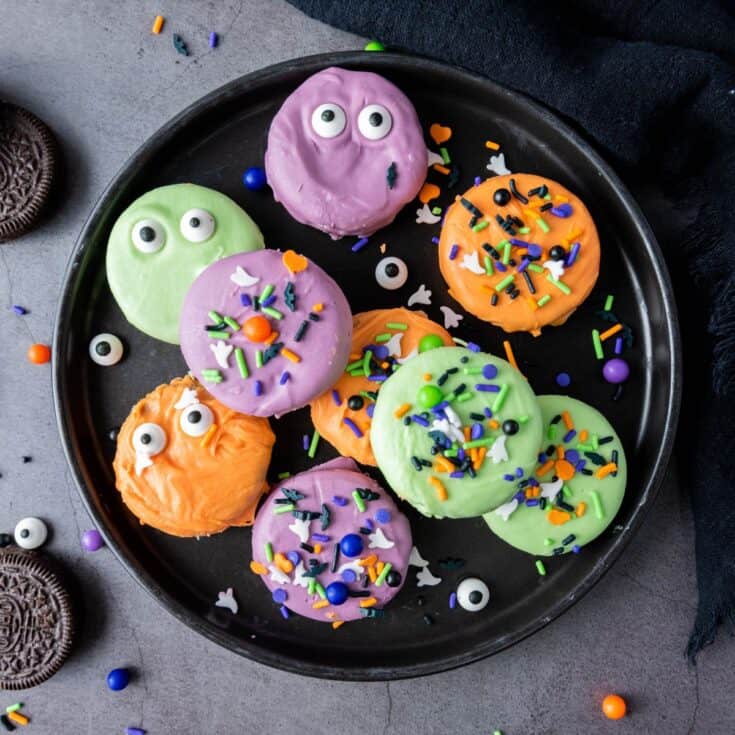
Once the candy coating has set, arrange the Halloween Oreos on a festive plate or store them in an airtight container until ready to serve.
Hint: If the melted candy starts to thicken, pop it back into the microwave for 10 to 15 seconds to smooth it out again. This helps make sure your Oreos coat evenly and don't get clumpy.
Substitutions & Variations
- Use any type of sandwich cookie if you can't find Halloween Oreos.
- Switch up the colors to match other holidays like red and green for Christmas or pink and white for Valentine's Day.
- Add candy eyes or edible glitter for extra fun decorations.
- Use allergy-friendly candy melts for dairy-free or nut-free versions.
- Let kids decorate their own for a fun activity during parties.
💭Crucial Success Tips
- Make sure your sprinkles are ready before you dip the cookies-once the candy sets, they won't stick.
- Don't overheat the candy melts or they'll get thick and hard to work with.
- Use a cooling rack under parchment for neater decorating and easy cleanup.
FAQ
They'll stay fresh in an airtight container at room temperature for up to 5 days.
Yes, but note that the candy coating may crack slightly when thawed. For best texture, enjoy within a few days of making.
Absolutely! Kids love dipping and decorating their own cookies. It's a great hands-on kitchen activity.
Fun Halloween Oreo Treats
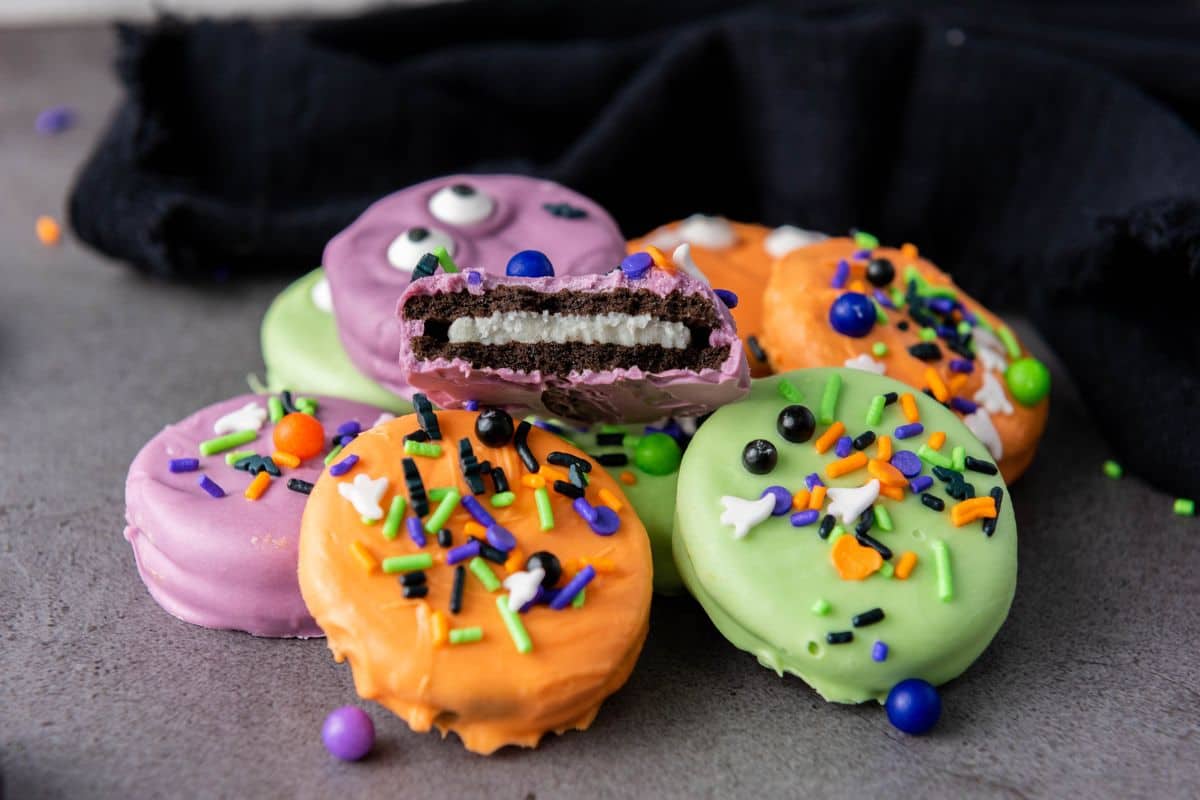
These Halloween Oreo Cookies are a fun, no-bake treat perfect for spooky parties, trick-or-treat nights, or just a festive snack with the kids. Colorful candy melts and sprinkles transform regular Oreos into a sweet and easy dessert that’s big on fun and short on prep time.
Ingredients
- 12 Oreo cookies
- ¼ cup Purple candy melts
- ¼ cup Green candy melts
- ¼ cup Orange candy melts
- Halloween sprinkles (e.g., bats, pumpkins, ghosts, and other spooky shapes)
Instructions
- Line a baking sheet with parchment paper or a silicone mat. Put Halloween sprinkles into small bowls so they’re easy to grab. Place purple, green, and orange candy melts into three separate microwave-safe bowls.
- Microwave one bowl at a time in 30-second intervals, stirring after each round, until smooth and fully melted.
- Use a fork or dipping tool to dip each Oreo into the melted candy until fully coated. Let the extra drip off, then place it on the baking sheet. Dip 4 Oreos in each color: purple, green, and orange.
- While the coating is still wet, sprinkle Halloween sprinkles on top of each Oreo. Get creative with your sprinkles to make each Oreo unique and festive.
- Allow the decorated Oreos to sit at room temperature until the candy coating has completely hardened. This can take about 30 minutes to an hour. If you're in a hurry, you can place the baking sheet in the refrigerator for about 15 minutes to speed up the process.
- Once the candy coating has set, arrange the Halloween Oreos on a festive plate or store them in an airtight container until ready to serve.
Nutrition Information:
Yield:
12Serving Size:
1Amount Per Serving: Calories: 160Total Fat: 7gSaturated Fat: 4gTrans Fat: 0gUnsaturated Fat: 0gCholesterol: 0mgSodium: 90mgCarbohydrates: 22gNet Carbohydrates: 0gFiber: 1gSugar: 17gSugar Alcohols: 0gProtein: 1g
How to Store Fun Halloween Oreo Treats
Once the cookies are fully set, store them in an airtight container at room temperature. Keep them away from heat or sunlight to prevent melting. If needed, you can store them in the fridge, but room temp is best to maintain the coating's texture. Avoid freezing if possible, as the candy may lose its smooth finish.
Summer
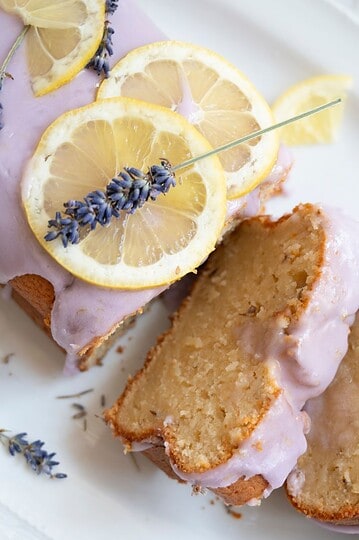
- Lemon Lavender Pound Cake
- Greek Yogurt Lemon Poppy Seed Muffins with Lemon Glaze
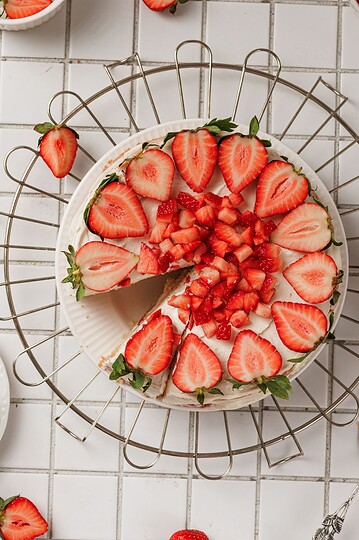
- Strawberry Shortcake Layer Cake
- Blueberry Goat Cheese Flatbread


Pin it for Later


Leave a Reply